As a basic first setup, make sure that you have the latest Java installed on your computer. To check the java installation simply open your Command prompt window and enter java --version this should give you the output as shown in the below picture.
 |
| Java version verification |
Now once your Java installation is verified, download the latest Eclipse IDE software from the official website.
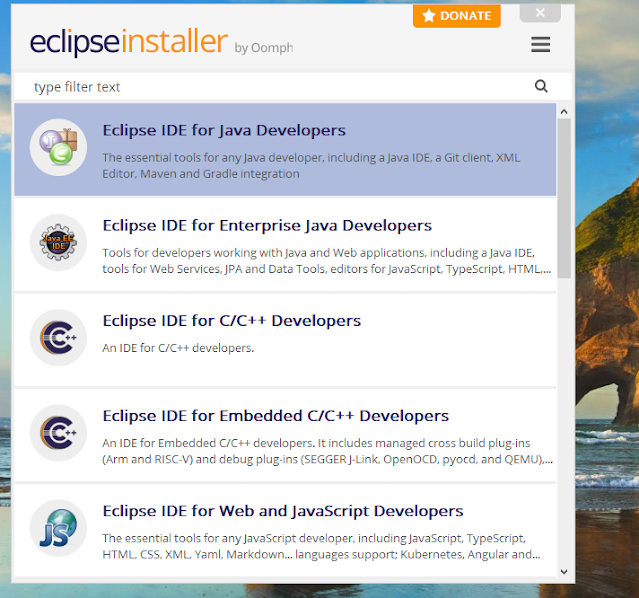
During installation select "Eclipse IDE for Java Developers" and proceed with the installation. The installation would take some time so just chill out for a moment.
Note: Make sure you have the active internet connection the eclipse installer will try to download the OS libraries.
Once installed, create a new project in Eclipse Workspace.
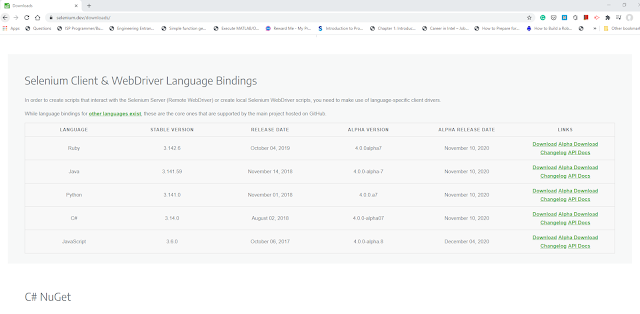
Before proceeding, download the Selenium jar zip files from the official selenium website and extract them.
Now go to Eclipse and start configuring your newly created java project. You can find this option by right-clicking on the project folder and navigating from Build path to configure build path .
In Libraries, click on Add External Jar files, now select all the selenium jar files which we extracted in the earlier step.
Now you should be able to run your selenium script. Make sure that you also have the browser drivers as well. Happy Coding 😀


